
Table of Contents:
Understanding react-helmet-async Fundamentals
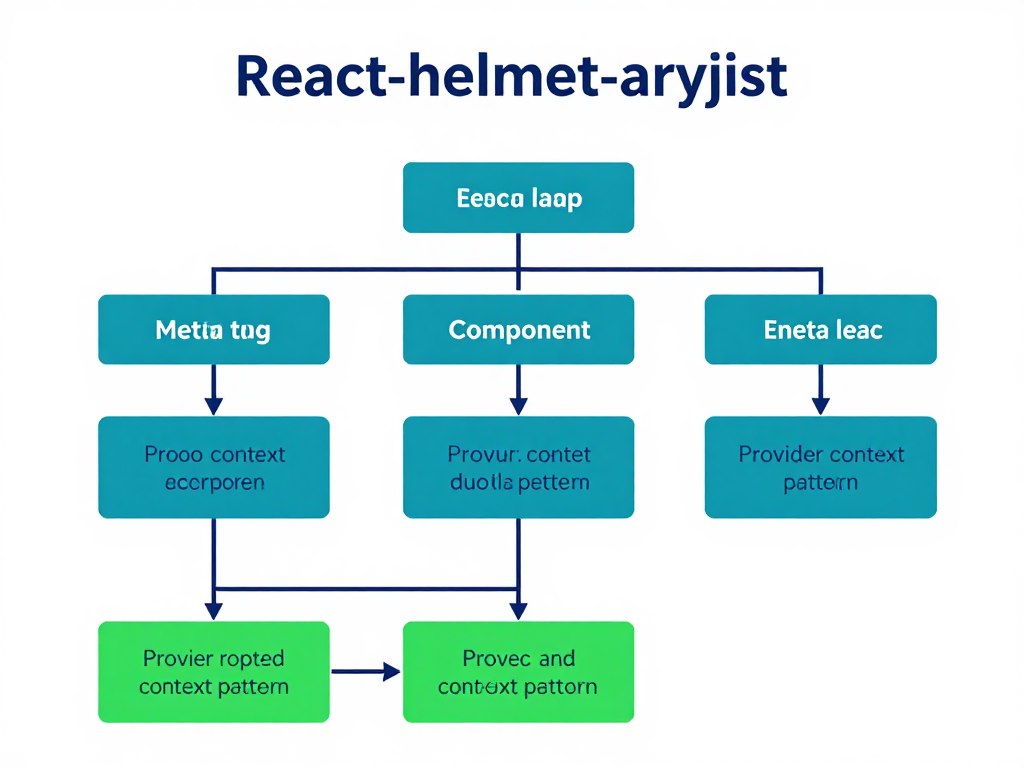
The react-helmet-async library provides thread-safe meta tag management for React applications. Unlike the original react helmet, this async version works seamlessly with server-side rendering. It handles document head modifications without blocking your application’s performance.
This library uses React Context to manage metadata across your component tree. Each component can declare its own title, description, and other meta tags. The system automatically handles conflicts and updates the document head efficiently.
Key Benefits for React Applications
SEO Optimization
Search engines crawl your pages with proper meta tags and title description combinations. Social media platforms display rich previews when users share your content. Better indexing leads to improved search rankings.
Performance Advantages
Async operations prevent blocking during server-side rendering. The library handles metadata updates efficiently using React context. Your app remains fast while managing complex metadata requirements.
How It Differs from React Helmet
The original react helmet library had limitations with concurrent rendering and SSR. React helmet async addresses these issues with a thread-safe architecture. This makes it the preferred choice for modern React applications using state management and routing.
- Thread-safe implementation works with React 18+ concurrent features
- Improved performance during server-side rendering processes
- Better handling of metadata in complex application state
- Compatible with modern React frameworks and tooling
- Active maintenance and regular updates from the community
Installation and Basic Setup
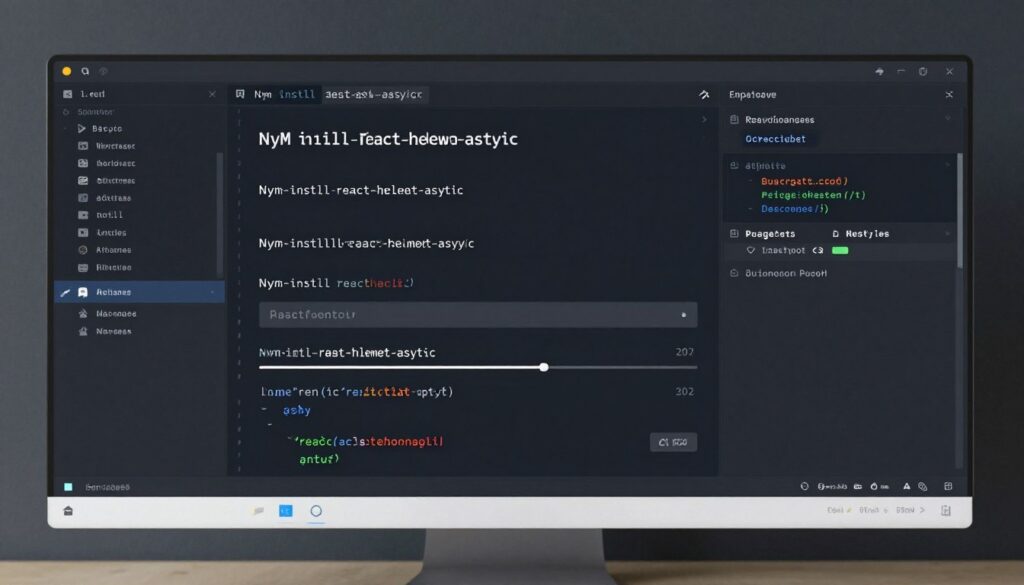
Getting started with react-helmet-async requires just a few simple steps. The installation process takes minutes, and the basic usage integrates smoothly into existing React projects. Let’s walk through the complete setup process.
Installing the Package
First, install the library using your preferred package manager. The package works with npm, yarn, or pnpm. Open your terminal and run the appropriate installation command for your project.
Installation Command: Run npm install react-helmet-async in your project directory. For yarn users, execute yarn add react-helmet-async. The package installs quickly with minimal dependencies.
Configuring the Provider
The library requires a provider component at your app’s root level. This provider creates the context that all helmet components use. Wrap your entire application with the HelmetProvider for proper functionality.
Import the HelmetProvider from react-helmet-async in your main app file. Place it above your router and other context providers. This ensures metadata management works throughout your component tree.
Basic Usage Example
After setup, using react helmet becomes straightforward. Import the Helmet component where you need to set meta tags. Add title and description elements as children of the Helmet component.
Pro Tip: Place Helmet components in page-level components rather than layout wrappers. This ensures each page can define unique metadata while maintaining clean code organization.
Ready to Start Building?
Download our complete starter template with react-helmet-async pre-configured. Save hours of setup time and start building immediately.
Managing Dynamic Meta Tags
Dynamic meta tags adapt to your content automatically. Each page in your React app needs unique title and description combinations. The helmet library makes this process simple and maintainable.
Setting Page Titles
Page titles appear in browser tabs and search results. They represent the most important metadata for SEO purposes. Using react helmet, you can set titles dynamically based on your page content or app state.
Include the page title within the Helmet component tags. The library automatically updates the document title when the component mounts. This works seamlessly with React router and other navigation solutions.
Configuring Meta Descriptions
Meta descriptions influence click-through rates from search results. These descriptions should be concise and compelling. Aim for 150-160 characters to display properly in search engines.
Add meta description tags as children of the Helmet component. Use the name attribute with value “description” and set content to your description text. The async library handles updates efficiently.
Managing Keywords and Other Tags
While keywords meta tags have less SEO value today, other metadata remains crucial. Include Open Graph tags for social media sharing. Add Twitter card metadata for enhanced Twitter previews.
- Open Graph tags control how content appears on Facebook and LinkedIn
- Twitter card tags optimize previews specifically for Twitter platform
- Canonical URLs prevent duplicate content issues across pages
- Viewport meta tags ensure proper mobile responsive behavior
- Charset declarations define proper text encoding standards
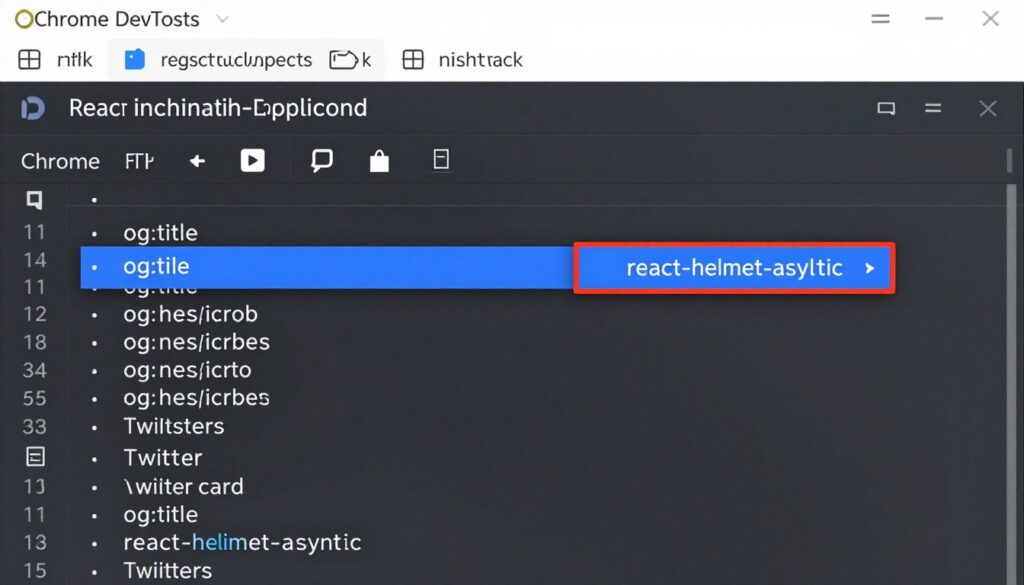
Open Graph and Social Media Optimization

Social media platforms rely on Open Graph protocol for rich previews. When users share your links, these meta tags determine appearance. Proper implementation dramatically improves social media engagement and click-through rates.
Essential Open Graph Tags
Open Graph tags include title, description, image, and URL properties. The og:title should match or complement your page title. The og:description can differ slightly from your standard meta description for social optimization.
Images play the most significant role in social sharing success. The og:image tag specifies which image appears in previews. Use high-quality images sized appropriately for each social media platform’s requirements.
Required Open Graph Properties
- og:title – The title displayed in social media previews
- og:description – Compelling description text for shares
- og:image – High-resolution preview image URL
- og:url – Canonical URL of the shared page
Optional Enhanced Properties
- og:type – Content type (website, article, product)
- og:site_name – Your website or brand name
- og:locale – Language and region specification
- article:published_time – Publication date for articles
Twitter Card Configuration
Twitter uses its own metadata system alongside Open Graph. Twitter cards enhance the appearance of shared links with images and descriptions. The platform supports several card types for different content formats.
The summary card works well for most content types. Use summary_large_image for content where visuals matter most. Specify the twitter:card type along with twitter:title and twitter:description tags.
Image Optimization: Use 1200×630 pixels for optimal Open Graph images. Twitter recommends 1200×628 pixels for large image cards. Ensure images load quickly and look sharp on high-resolution displays.
Maximize Your Social Media Reach
Get our comprehensive SEO and Social Media Optimization checklist. Learn exactly which meta tags drive the most engagement across platforms.
SEO Best Practices with Helmet Async
Implementing react helmet correctly requires following established SEO principles. Search engines evaluate multiple factors when ranking pages. Proper metadata forms the foundation of effective SEO strategy.
Title Tag Optimization
Page titles should include target keywords naturally. Place important keywords near the beginning of titles. Keep titles under 60 characters to prevent truncation in search results.
Each page needs a unique title that accurately describes content. Avoid duplicate titles across different pages. Include your brand name consistently, typically at the title’s end.
Meta Description Guidelines
Compelling meta descriptions improve click-through rates significantly. Write descriptions that encourage users to visit your page. Include relevant keywords while maintaining natural, readable language.
Descriptions should accurately reflect page content to reduce bounce rates. Search engines may ignore descriptions that don’t match actual content. Aim for 150-160 characters for optimal display across devices.
Structured Data Integration
Structured data helps search engines understand your content better. Use JSON-LD format within Helmet components for schema markup. This enables rich snippets in search results for better visibility.
Technical SEO Elements
- Canonical URLs prevent duplicate content penalties
- Language tags help with international SEO efforts
- Mobile viewport tags ensure proper mobile indexing
- Robots meta tags control page indexing behavior
Content SEO Factors
- Unique titles and descriptions for every page
- Keyword optimization without overstuffing content
- Relevant metadata matching actual page content
- Regular updates to keep information current
Server-Side Rendering Implementation
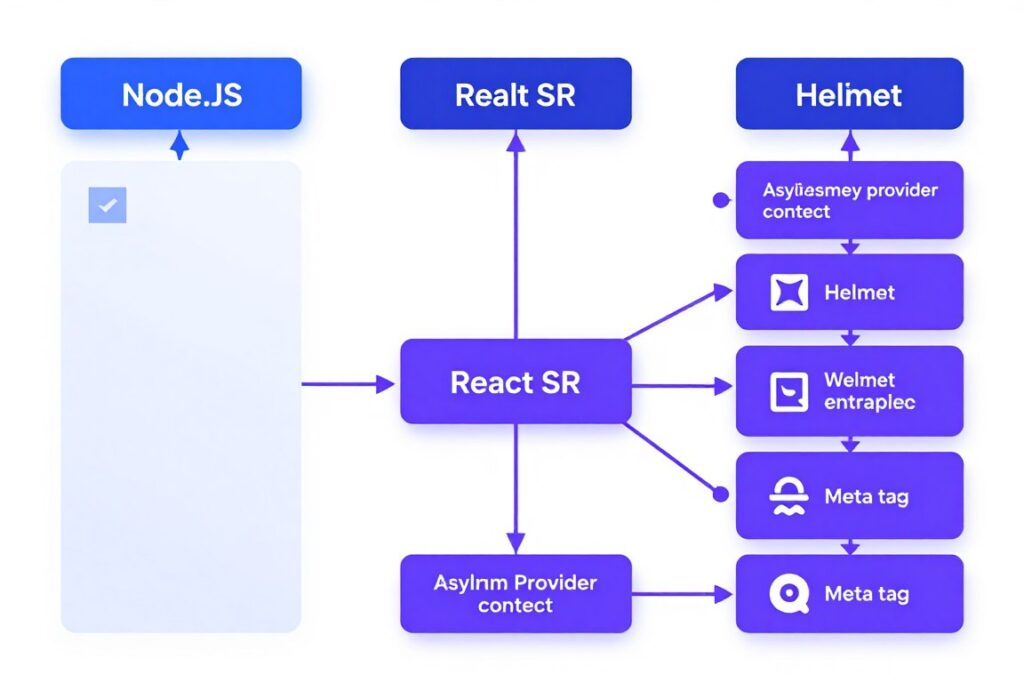
Server-side rendering ensures search engines receive fully-formed HTML with proper metadata. This dramatically improves SEO compared to client-only rendering. React helmet async was specifically designed for SSR compatibility.
SSR Setup Requirements
Setting up SSR with helmet async requires configuring your server properly. Create a new HelmetProvider instance for each request. This prevents metadata from different requests mixing together.
Extract helmet context data after rendering your React app. The context contains all meta tags defined throughout your component tree. Insert this data into your HTML template before sending responses.
Handling Async Data
Many apps fetch data before rendering pages. The helmet library works seamlessly with data-fetching patterns. Define your meta tags based on loaded data within components.
When using frameworks like Next.js, helmet async integrates with getServerSideProps. Set metadata based on fetched data before component rendering. This ensures complete metadata in the initial HTML response.
Common SSR Challenges
Memory leaks can occur if provider instances aren’t properly managed. Always create fresh provider instances per request. Dispose of old contexts after sending responses to clients.
Important: Never share HelmetProvider instances between requests. This causes metadata leakage where one user sees another user’s page titles. Create isolated contexts for each request.
- Configure helmet provider at the application root level
- Extract context data after rendering completes fully
- Insert metadata into HTML template head section
- Handle async data loading before setting meta tags
- Test SSR output to verify proper metadata injection
Practical Code Examples
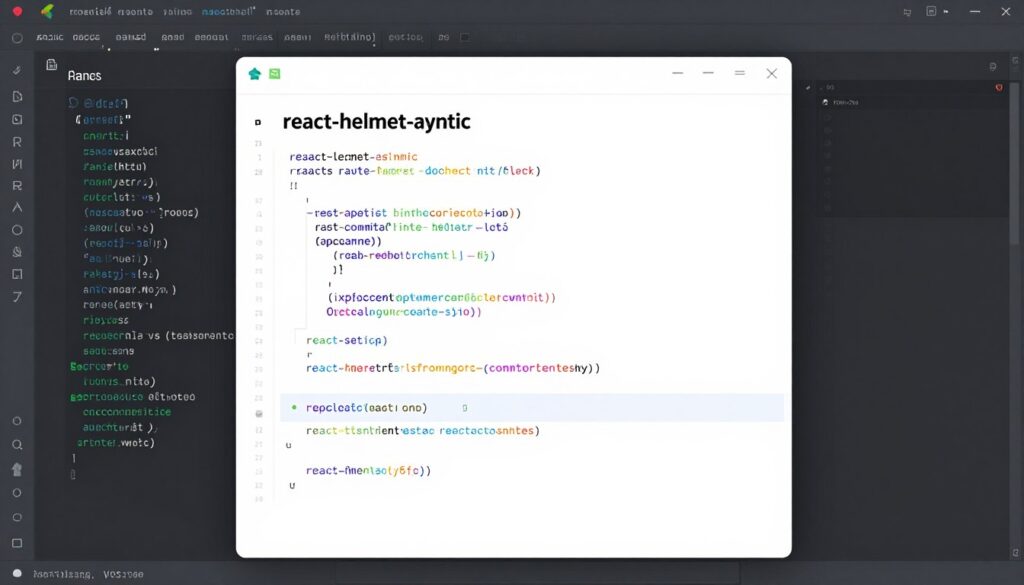
Learning by example accelerates understanding significantly. The following patterns demonstrate common react helmet use cases. These examples cover everything from basic usage to advanced scenarios.
Home Page Implementation
Home pages require special attention to metadata. They represent your site’s main entry point. Set comprehensive meta tags including Open Graph and Twitter card data.
Import Helmet from react-helmet-async at the component’s top. Define title, description, and social media tags within the Helmet component. Use template literals to incorporate dynamic content when needed.
Dynamic Route Metadata
Blog posts and product pages need metadata reflecting specific content. Extract data from props or routing parameters. Update meta tags based on this information automatically.
Access route parameters using your router’s hooks. Fetch content data based on these parameters. Set title description and other metadata using the retrieved content.
Component Organization: Create a reusable SEO component wrapping Helmet functionality. Pass props like title, description, and image URL. This maintains consistency across pages while reducing code duplication.
E-commerce Product Pages
Product pages benefit from rich metadata including pricing and availability. Use structured data within Helmet for product schema. This enables rich snippets showing prices in search results.
Blog Post Example
Blog posts should include article schema and publication dates. Set author metadata and category information. Use appropriate Open Graph type for article content.
About Page Example
About pages establish brand identity through metadata. Include company name and brand description. Use organization schema for business information.
Access Complete Code Repository
Get 10+ production-ready examples with full implementation details. Each example includes comments explaining best practices and common pitfalls to avoid.
Comparing Alternatives
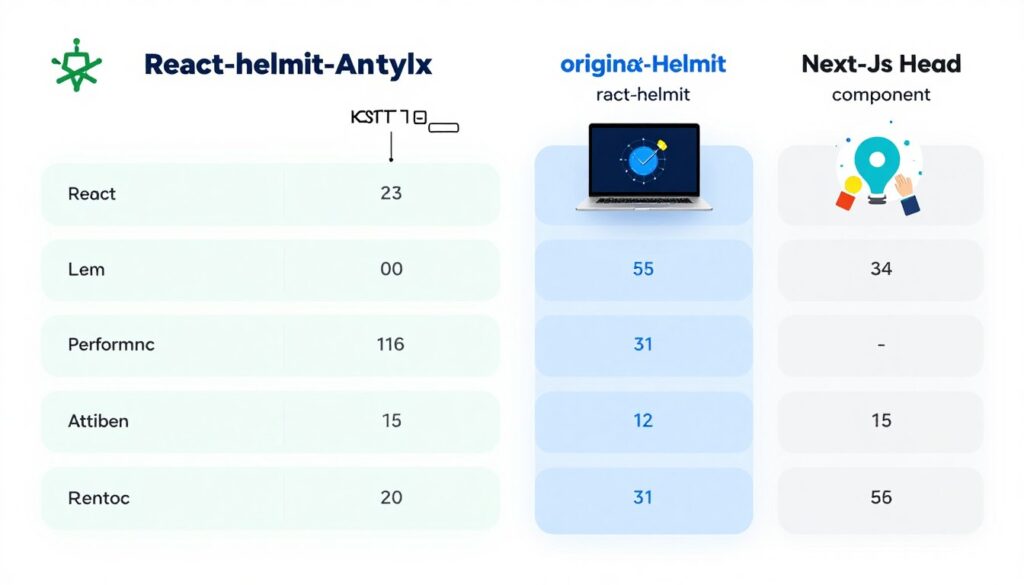
Several solutions exist for managing metadata in React applications. Each approach has strengths and limitations. Understanding these differences helps you choose the right tool.
React Helmet vs React Helmet Async
The original react helmet library served the community well for years. However, it lacks thread-safety required for modern React features. React helmet async solves these limitations completely.
The async version handles concurrent rendering without issues. It performs better during server-side rendering scenarios. Most new projects should choose helmet async over the original library.
| Feature | react-helmet-async | react-helmet | Next.js Head |
| SSR Support | Excellent | Limited | Excellent |
| Thread Safety | Yes | No | Yes |
| Framework Agnostic | Yes | Yes | No |
| Active Maintenance | Yes | Limited | Yes |
| Learning Curve | Low | Low | Very Low |
Next.js Head Component
Next.js includes built-in Head component functionality. This works excellently within the Next.js ecosystem. However, it only functions in Next.js applications.
If you’re already using Next.js, the built-in solution works well. For other React setups, react helmet async provides more flexibility. The helmet library works across different frameworks and build tools.
When to Choose Each Solution
Choose react-helmet-async for most React projects needing metadata management. It offers the best balance of features and compatibility. The library works with Create React App, Vite, and custom setups.
- Use helmet async for new projects requiring flexible metadata management
- Migrate from react helmet to async version for better performance
- Choose Next.js Head when building exclusively on Next.js framework
- Consider framework-specific solutions when available and appropriate
- Evaluate your SSR requirements before choosing a solution
Maintaining Clean Meta Tag Organization
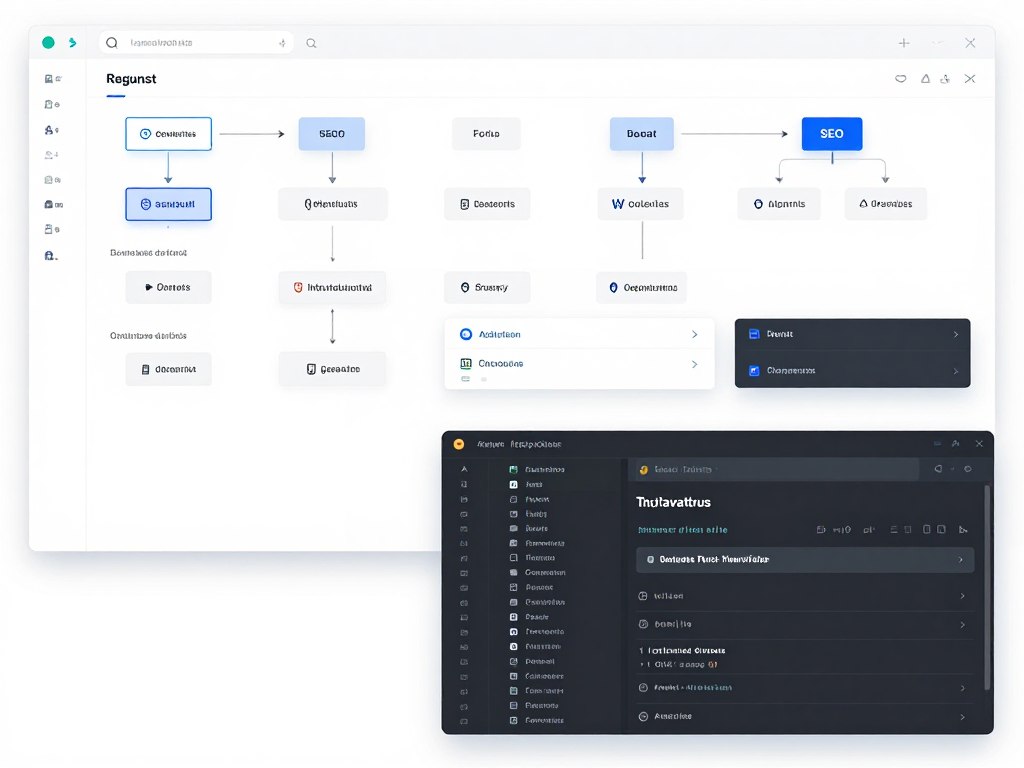
As projects grow, metadata management can become messy. Organizing your meta tags systematically prevents maintenance headaches. Good organization makes updates faster and reduces errors.
Creating Reusable Components
Build a dedicated SEO component wrapping Helmet functionality. This component accepts props for title, description, and image. Centralizing logic ensures consistency across your entire app.
Define sensible default values within your SEO component. Pages can override defaults with specific metadata. This approach reduces code duplication while maintaining flexibility.
Configuration Management
Store default metadata in configuration files. Include site name, default descriptions, and image URLs. Import these configurations in your SEO components as needed.
Use environment variables for domain names and API endpoints. This makes deploying to different environments easier. Keep sensitive information out of your codebase using proper environment variable management.
Component Structure
Separate metadata concerns from page components. Create a dedicated components directory for SEO elements. Use clear naming conventions for easy identification.
Testing Strategy
Write tests verifying correct metadata rendering. Check that dynamic content updates properly. Test SSR output to ensure metadata appears correctly.
Documentation Practices
Document your metadata strategy thoroughly. Explain which tags are required versus optional. Provide examples showing how to use your SEO components.
Best Practice: Create a metadata checklist for new pages. Include required fields like title and description. List optional fields such as Open Graph images and Twitter cards.
- Build reusable SEO component wrapping helmet functionality
- Store default metadata values in configuration files
- Use TypeScript interfaces for type-safe metadata props
- Document metadata requirements clearly for team members
- Implement automated testing for critical metadata paths
Conclusion
React-helmet-async provides essential functionality for modern React applications. Proper implementation dramatically improves your site’s SEO performance and social media presence. The library’s thread-safe architecture ensures compatibility with current and future React features.
We’ve covered installation, basic usage, and advanced SSR implementation. You’ve learned best practices for title tags, meta descriptions, and Open Graph configuration. These techniques form the foundation of effective SEO in React apps.
Start implementing react helmet async in your next project today. Begin with basic title and description tags, then expand to include social media optimization. Your improved search rankings and engagement will demonstrate the value.
Master Advanced React Techniques
Join 10,000+ React developers receiving weekly tips, tutorials, and best practices. Get exclusive access to advanced implementation guides and performance optimization strategies.